Showing posts with label how to. Show all posts

Wednesday, 17 November 2010

hangover.

the aftermath.

'hangover attire' isn't an oft-explored niche - i'm assuming that's because most people spend such periods of their life in bed/on the couch/on the bathroom floor, in the foetal position. unless they
really have to leave the house, in which case jeans and hoodies will suffice.

not on my watch.
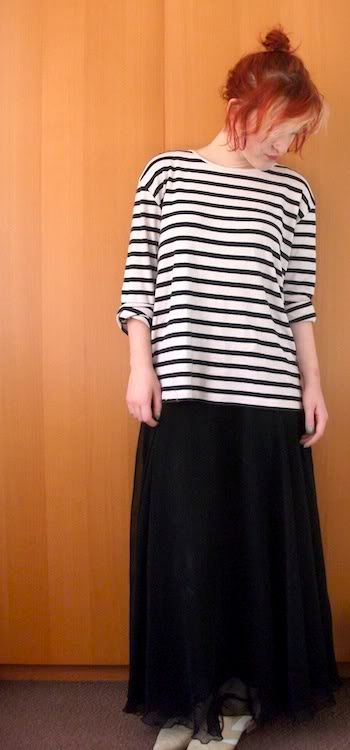
thrifted jumper+skirt//H&M leggings//primark socks//asos brogues

at first glance, this could be any other outfit, but below are the hallmarks of the hangover look - you'll now be able to spot whether i was a-drinking the night previous to outfit photos, and that'll be fun, right?
alternatively, you can use it as a 'how to survive a hangover' guide. i have no tips on feeling better, of course.

1. no jewellery.
too much effort.

2. flat shoes. anything with a heel or a wedge = too much effort.

3. slightly less makeup; no need for eyeliner or lipstick or any of that malarky. blusher and mascara will suffice (because hangovers come with a pallor too deathly even for me), or would if foundation wasn't a necessity per moi.

4. increasingly poor choices. because sheer skirts and leggings in wet/cold/muddy november. although, let's be honest, i would've donned similar items when not hungover. i am never seasonally appropriate; there is about a week in september where my style is approps, otherwise i'm too hot in my layers or too cold in my sheers. pfft. at least i've plonked some thick socks on over my leggings/under my cut-out shoes. great choice, great choice.

5. no waist. this is the biggie. the giveaway. because everything i wear defines my waist.no tights, no high waists, nothing too tight on the delicate mid-section, lest that queasy feeling claw it's way back. just when i was starting to feel better. ergh.

6. overcompensation. i might not feel good, but dammit, i'm going to look it. i want the finest clothes available to man, i want them here, and i want them now.


yes? yes.
as a side note; i adore this jumper. it's the perfect amount of slouchy and it's comfy AND warm AND it looks good; despite the holes in the cuffs (roll up the sleeves: problem solved), the slight pink shade from a rogue-red-item-in-the-wash situation and, now, the wonky hem where some of the thread has come out. oh dear.

Wednesday, 15 September 2010

skyscrapers.

two nail posts in a row! 3 days of silence! etc
so, contrary to popular assumption, this isn't a post about heels.
though it should be, if the postman hurried himself along (it's twenty to twelve! where are you! i am expecting both pairs of THE BOOTS and a much needed ink cartridge! gosh!)

anyway.
yes.
skyscrapers.

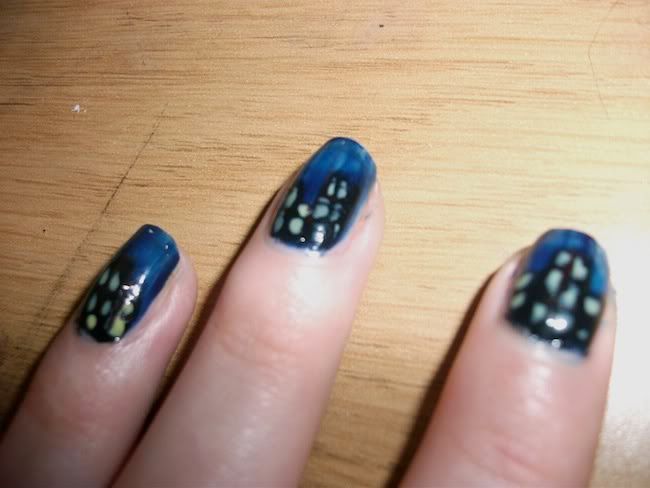
i mentioned last post that i got a great nail art idea, and though i assume this has been done a hundred times (and probably better), i haven't seen it blogged yet. which is exciting. look see:


a tribute to NYC; a homage to NYFW? no no, a questionable few smudges on my fingernails, that is all.

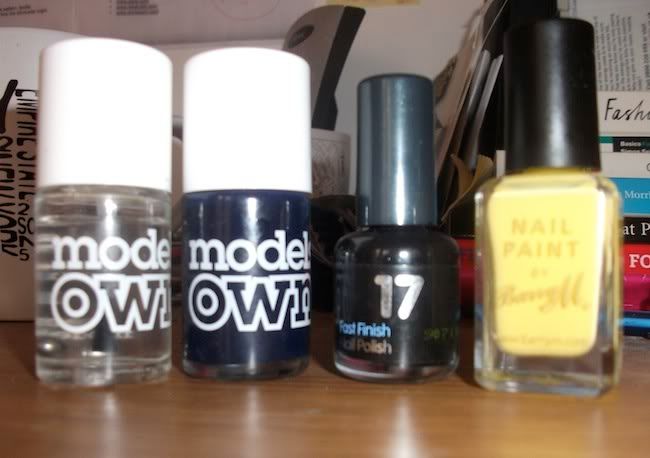
models own base/topcoat//models own in the navy//17 nightshade//barry m lemon

you need to start with the navy - after the basecoat, obvs - and make sure theres very little polish on the brush so it doesn't go on too dark, else the black won't stand out against it.
it comes out a tad streaky but that adds to the sky effect, right?
i did 3 coats of black which gave it a thick and blocky texture; very building-y. and then dotted and streaked yellow (again, as little as possibile on the brush so as to avoid clumps), and neated them up with a black fineliner while still tacky - fineliner tends to not stay on polish, so really this was just pushing the yellow back into the black to neaten it. finish with too coats of topcoat to hold it and give it shine.

they look better with the camera flash than in real life (unless you get right up close) because the blue/black contrast is better, but for a first attempt from someone with no 'professional' nail art tools i'm pretty impressed with myself....

Thursday, 2 September 2010

trial and error: ombre nails.


this is where it all began (for me at least...): a picture on
nice and shiny.
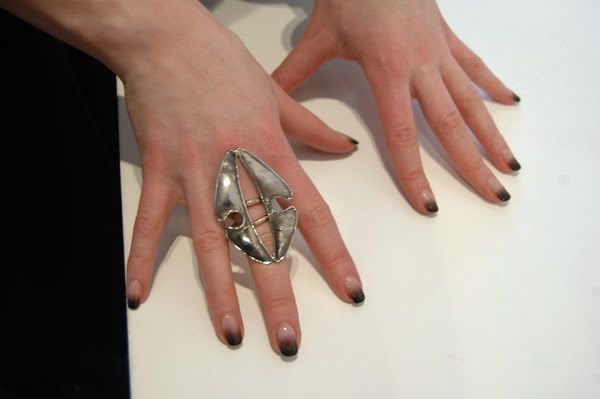
ombre nails! what a delight!
so many of my regular-read blogs have had a bash at this, but there's no definitive guide to the perfect fade to black.
UNTIL NOW.


lol, j/k. this is at best a rough guide; a diving board, if you will. learn from my mistakes; take it further.....etc.

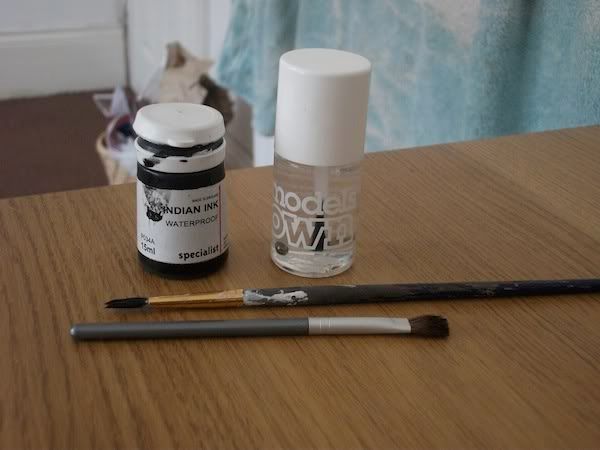
you will need!:


indian ink
clear top coat
a tiny paintbrush
a flat eyeshadow brush (or paintbrush, but the eyeshadow brush tends to have softer bristles!)

-------------

indian ink is a great choice for a number of reasons: it dries quickly, it washes off your fingers (so once your top coat is dry, a quick rinse under the tap will get rid of the excess), it's cheap (my tub reliably informs me it cost 1.60), and it's the only black ink i had lying around.
i also have a green drawing ink which i might have a bash with sometime later this week...

course, all that means that it does chip easily. swings and roundabouts.

the flat eyeshadow brush is also recommended - especially if you have one which is about nail-width. easy of application, etc.

also FYI? ombre nails are messy:

my desk; after attempt no.1

...but again, it washes off easily.

trial the first


(all trials began with a basecoat of the models own base/topcoat all in one...)

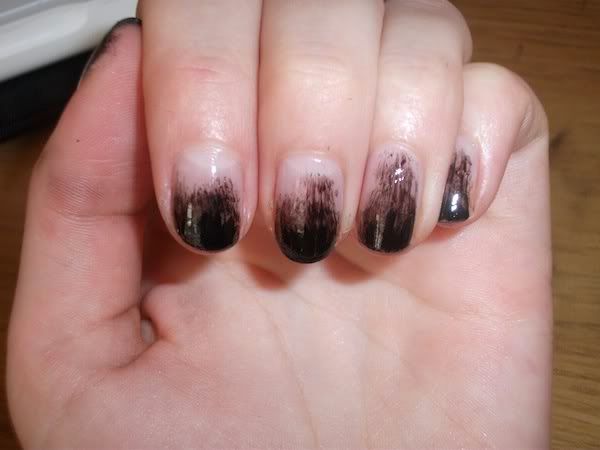
trial one involved dabbing a dot of ink onto the end of each nail with the small brush, then using the flat brush to spread that dot across the nail, then waiting for that coat to dry and doing another dot, dragging it a little less far each time, and finishing with a layer of topcoat.

it probably could've done with another topcoat layer, as it swiftly started to chip. sigh.
also, i managed to wipe a big smudge in one of my little fingers.


trial the second

day two saw me begin another attempt, which involved essentially the same process, but with a layer of topcoat between each layer of ink.
i hoped it would make it more chip resistant....

it did not.


trial the third

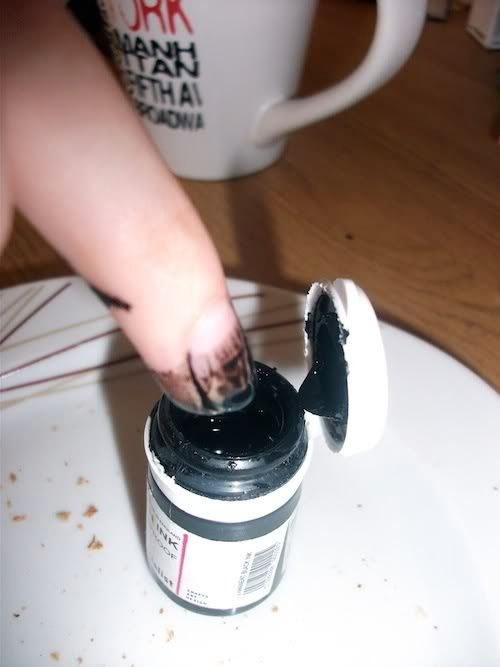
utilising what i knew of indian ink, i thought it a stroke of genius to do this:


note toast plate (to catch drips) and coffee mug (full of coffee. and now, ink stains.).
pros? good coverage.
cons? not much of a fade; mess EVERYWHERE; took ages to dry; there is now a black streak floating around my topcoat bottle; and my thumbs wouldn't fit into the bottle.

massive. fail.
though they look kinda cool. (this is after topcoating and washing the major amounts of excess off...)


trial the fourth

the absolute last one before i get annoyed.
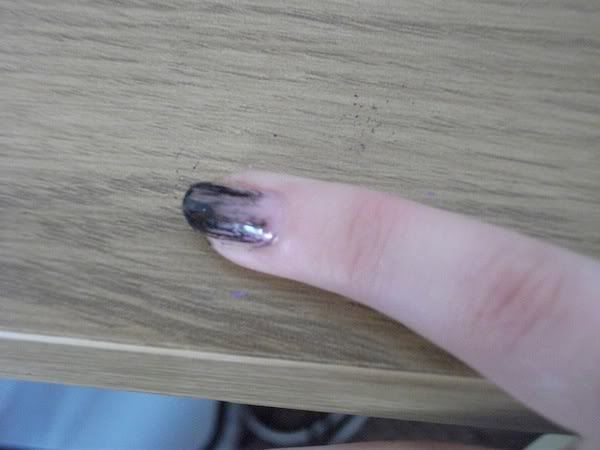
i did, after all, have two thumbs to paint:


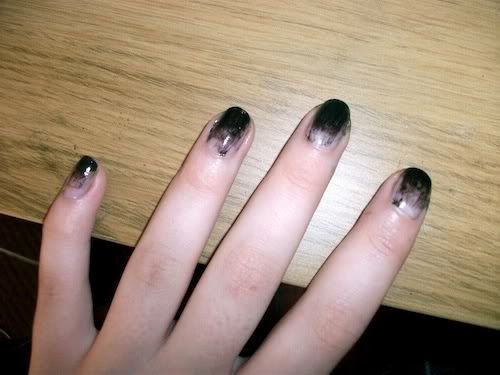
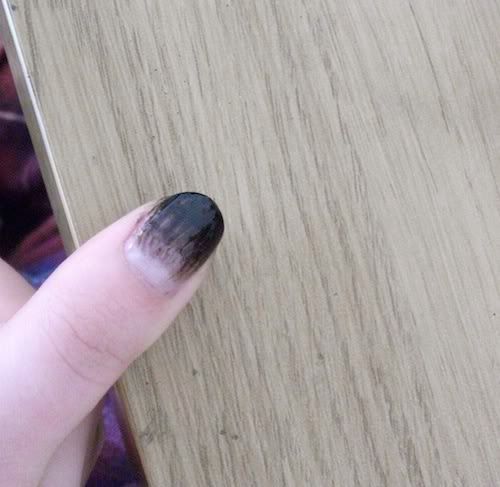
and the best one yet, imo.
ignored the tiny brush entirely, and painted with the flat brush with as little ink on it as possible. slowly added layers, with plenty of time for them to dry inbetween. two coats of topcoat to finish.
i don't know if trials 3 or 4 chipped easily cos i took them off in an ink-fatigue about 20 minutes after i finished them.

if i hadn't been so annoyed at ink in general by this point, i might've repainted all my nails like this one, but instead i pulled out my Models Own Purple Grey, which is fantastic and easy and lovely.

perhaps in a couple of days i'll try method 4 for my entire hands, or the same method with the green ink. though knowing my messy nature, the green ink will stain my hands for longer than it will my nails.